
Chino Wood Flooring repairs hardwood floor water damage in Chino, CA, with more than 20 years of experience drying, assessing and replacing wet wood floors, serving surrounding cities including Eastvale, Chino Hills, Ontario, Montclair and Norco. Most of the calls we get start with a warm spot underfoot, a stain under a dishwasher, or boards lifting beside an air handler closet.
We do two things before replacing any board. First, we confirm the leak source has been found and fixed, because new wood over an active leak is money thrown away. Second, we measure moisture in the boards and in the slab or subfloor and write it down, so the decision to repair or replace rests on numbers rather than guesses.
When insurance is involved, we document damage room by room with photos, moisture readings and a written scope. That record helps the adjuster see what is wet, what is damaged, and what it will take to restore the floor.
Where the Water Comes From
Slab Leaks Under the Floor
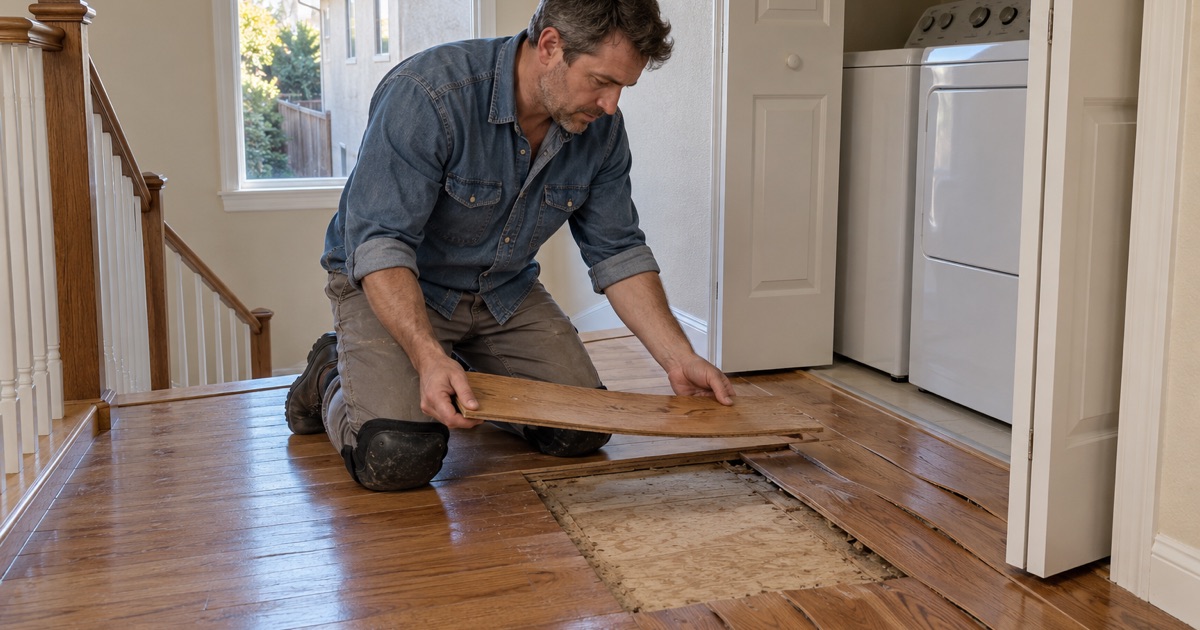
A slab leak is a supply line leaking inside or beneath the concrete. It often shows as a warm spot on the floor from a hot-water line, or as cupping in an area with no visible source. A plumber must locate and repair or reroute the line first. Once that is done, we test the slab and wait until it has dried before we replace flooring.
A slab can hold water for a long time after the leak stops. Laying new wood too soon repeats the damage, so we check readings before and during the repair.
Appliance and Plumbing Leaks
Dishwashers, refrigerator ice-maker lines, washing machines, toilets and sinks can all leak slowly into the floor. The damage often spreads under cabinets and into neighboring rooms. We trace the wet area with a moisture meter to find its full extent, since the visible stain rarely shows all of it.
Kitchen leaks are the trickiest because the wet area sits under cabinets we cannot see into. We read the boards at the toe kick and along the cabinet line, and where readings stay high, we may need to remove a toe kick panel to follow the water. Replacing only the visible boards leaves wet wood hidden under the cabinets to cup later.
Air Conditioner Drain Lines
An air handler in a closet or attic has a condensate drain line that can clog and overflow. Water then soaks the floor in the same spot for months, often under carpet or near a wall. We check the drain line and pan as part of the assessment and ask that it be repaired before we replace any boards.
These leaks tend to show up in the warm months, when the system runs hardest and makes the most condensate. A stain that grows each summer and fades each winter is a strong hint. Water heaters in interior closets and garage-adjacent rooms can cause the same slow, repeated soaking.
Assessing Water-Damaged Hardwood
Moisture Readings
We take readings in the wet area and in dry parts of the same floor to set a baseline. On slabs, we may also test the concrete directly. Readings recorded over time show whether the floor is drying and when it is safe to repair.
The reason for a baseline is that a single number means little on its own. A reading only tells us something when it is compared with dry wood of the same species in the same house. We record both, with the date and location of each reading, so the adjuster and you can see the floor dry out over time.
Cupping, Crowning and Buckling
Cupped boards have raised edges, and often flatten once dry. Crowned boards have raised centers, usually from sanding a cupped floor too soon. Buckled boards have lifted off the subfloor entirely and usually need replacing. We explain which you have and what that means for the repair.
Board gapping can follow as well. Once a soaked floor dries out, boards that swelled against each other often shrink back smaller than they started, leaving gaps. We warn you about that possibility up front so it is part of the plan rather than a surprise a month later.
Engineered Floor Delamination
Water can break the bond between an engineered floor’s veneer and its core, causing the top layer to peel or blister. HDF cores can also swell. Delaminated boards cannot be dried back to health, so they need replacing.
A glue-down engineered floor over a slab leak may also lose its adhesive bond without visible delamination, leaving hollow spots that pop underfoot. We tap-test the area around the leak once it is dry. Where the bond has failed, the boards come up so the slab can be cleaned, tested and reglued.
Repair or Replace
Drying and Refinishing
When the water was caught early and the boards are only slightly cupped, drying and then refinishing may be all that is needed. We wait for the readings to settle before sanding, so the floor is flat when it is finished. This is the least expensive outcome and the reason early action matters.
Partial Board Replacement
When damage is limited to a section, we cut out the affected boards and weave in new ones of matching species and width. The new boards are sanded and finished with the surrounding area. We try to run the finish to a natural break so the repair blends.
Partial replacement works best on solid hardwood that was site-finished, because the new and old boards can be sanded and finished together. On prefinished floors, the result depends on whether the original product is still sold. We tell you honestly how close the match will be before you decide.
Full Replacement
When damage spreads across rooms, when boards have buckled, or when engineered boards have delaminated, full replacement is often more reliable than piecing. We remove the damaged flooring, repair any wet subfloor, test the slab, and install new flooring once conditions are right.
Working With Your Insurance Claim
Room-by-Room Documentation
We photograph every affected room, record moisture readings and board conditions, and write a scope that lists what needs repair or replacement. You can share it with your adjuster. Clear records help avoid disputes over what was damaged.
The scope also covers what the adjuster may not think of: moving and resetting furniture, removing and reinstalling baseboard and quarter round, transitions at doorways, and any subfloor repair. Those items are part of restoring the floor, and a scope that leaves them out settles the claim short.
Matching and Continuous Flooring
California’s fair claims rules, 10 CCR 2695.9, call for replacement that gives a reasonably uniform appearance. When new boards cannot match an aged floor, we explain why and document it, so the adjuster can consider a larger area. We also note trim, transitions and baseboard that are disturbed by the repair.
Choosing Your Own Contractor
You can bring your own flooring contractor to a claim, and the insurer must share its scope and estimate. We compare our scope with the adjuster’s line by line and point out any missing items. That helps your claim reflect the full cost of restoring the floor.
We also note how labor was handled. Under 10 CCR 2695.9(f)(1), labor for a replacement is not depreciated in the way materials can be, so if an actual cash value payment looks low, it is worth asking the adjuster to explain how the labor line was calculated.
Our Step-by-Step Water Damage Process
Step 1: Confirm the Source Is Fixed
We confirm the leak has been located and repaired by the right trade before any flooring work. New wood over an active leak simply fails again.
Step 2: Measure and Document
We take moisture readings, photograph damage, and prepare a room-by-room scope. You get a copy to share with your adjuster.
Step 3: Dry and Recheck
We recheck readings until the floor and slab are dry enough to work on. Each recheck is dated and added to the record.
Step 4: Repair, Replace and Refinish
We replace damaged boards or the whole floor, then sand and finish so the result matches. A written cure schedule tells you when the rooms are usable again.
- 20+ Years of Wood Flooring
- Slab Moisture Tested First
- Free Written Estimates